Hello, bakers and party organizers! Are you ready to embark on a fun-filled baking adventure that’s guaranteed to delight both kids and adults? Today, we’re diving into the world of dino cookies, and I’ll provide you with a foolproof recipe and a complete guide, that will help you make your very own dinosaur cookies! These aren’t just any cookies; they’re fun, customizable, and absolutely irresistible, making them a perfect addition to any birthday party, or any other event. Forget store-bought treats; we’re about to make some amazing dino cookies from scratch that will be a hit with everyone! So, preheat your ovens and get ready to bake some dino-mite creations!
Why Dino Cookies are a Hit for Any Occasion
Before we get started with the recipe, let’s take a moment to understand why dino cookies are such a popular choice for parties and celebrations. They’re not just fun to make, they also bring a playful and joyful energy to any gathering. Let’s see why dino cookies are a winning choice for your next event!
The Playful Appeal of Dino Cookies: A Fun and Engaging Treat
One of the key reasons why dino cookies are a hit is their playful appeal. The whimsical dinosaur shapes are fun, engaging, and capture the imagination of children and adults alike. They bring a touch of prehistoric adventure to any occasion, and they’re sure to be a conversation starter at your parties. A great reason to include them in your dessert spread!
Versatile and Customizable: Perfect for Any Party Theme
Beyond their playful appeal, dino cookies are also incredibly versatile and customizable. You can decorate them to match any party theme, or colour scheme, making them perfect for birthday parties, or any other event you can imagine. From green, scaly designs to colorful, cartoon-like versions, the options are limitless. The versatility will allow you to personalize them to suit your specific needs, and to fit with your event’s decor! It’s a great way to bring your creative ideas to life!

Gathering Your Ingredients: What You’ll Need
Alright, let’s get down to the specifics. Before we start baking, we need to make sure we have all the necessary ingredients for a good recipe. This dino cookie recipe relies on just a few key components to create the perfect taste and texture, while also being easy and simple to execute. Being organized before you begin is key for a smooth experience! Let’s make sure we have all of the essentials!
Essential Ingredients for Your Dinosaur Cookie Dough
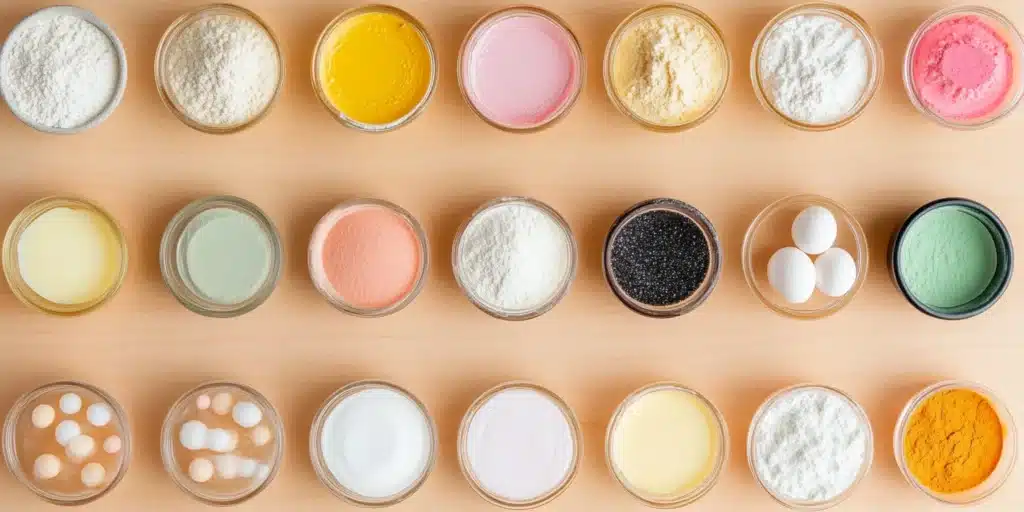
Let’s begin by gathering all of the ingredients you’ll need to make the sugar cookie dough. This will form the base for our adorable dinosaur cookies, and is the most important part of the recipe. Here’s what you will need:
- Unsalted Butter: This is what provides the rich buttery flavor, and it is also what creates a tender and chewy texture for your cookies.
- Granulated Sugar: Provides sweetness and helps to make the cookies crisp and golden brown.
- Large Eggs: They will provide structure and richness, and are an essential component for any great cookie recipe.
- Vanilla Extract: Adds a lovely flavor, and enhances the other ingredients. The vanilla will help to elevate your cookie experience.
- All-purpose Flour: It provides the main structure to the cookie dough, and is truly the backbone of this recipe, and any cookie recipe.
- Baking Powder: This helps the cookies to rise, making them light and airy, for a wonderful texture and outcome.
- Salt: A small pinch of salt is all that you need, and it helps to balance the sweetness, as well as enhancing all of the other flavours.
These are the basic ingredients that you will need for a simple, yet amazing, cookie dough, so be sure to use them correctly, and in the right amounts!
Royal Icing Supplies for Decoration and Designs
Now, let’s gather all the necessary icing supplies, that you’ll need to create your dino-mite decorations. Here are some essentials to get you started:
- Powdered Sugar: This will create the base for your royal icing, which is ideal for cookie decorating.
- Meringue Powder: It will help to create a strong and stable icing that will set properly and hold its shape.
- Water: The liquid that will bind the icing together, and can be adjusted to reach the right consistency.
- Gel Food Coloring: Choose gel food coloring for the best results as it is more concentrated than liquid colouring. You will need a variety of different colours to create your dino designs.
- Piping Bags and Tips: To make your decorating easier and more precise, and to create any designs that you desire.
- Optional: Edible Sprinkles and Glitter: To add some sparkle and make your creations stand out even more.
These icing supplies are all essential to help you create wonderfully decorated dino cookies! So make sure you have them at hand!

These icing supplies are all essential to help you create wonderfully decorated dino cookies! So make sure you have them at hand!
Optional Decoration Extras: Sprinkles, Edible Markers and More
Finally, let’s look at some optional extras that can take your cookie designs to the next level. These are all about bringing your own creativity to the design process:
- Edible Sprinkles: Will add some sparkle and texture to your designs and are always a welcome addition.
- Edible Markers: You can use these to create fun details on the cookies.
- Edible Glitter: To create a sparkly, and elegant look.
Step-by-Step: Baking Your Dino Cookies
Now that we’ve gathered all of our ingredients and supplies, it’s time to start baking these adorable dino cookies! Don’t worry, I’ll guide you through each step of this recipe, and we’ll be sure to create a delightful and fun experience that you will surely enjoy!
Step 1: Preparing the Dough for Your Dinosaur Cookies
First, let’s prepare the sugar cookie dough. In a large mixing bowl, cream together the softened unsalted butter and granulated sugar until light and fluffy. Then, beat in the eggs one at a time, followed by the vanilla extract. In a separate bowl, whisk together the all-purpose flour, baking powder, and salt. Then, gradually add the dry ingredients to the wet ingredients, mixing on low speed until just combined. Be sure not to overmix the dough, as this can result in tough cookies. Then, divide the dough into two equal portions, wrap them tightly in plastic wrap, and chill them in the refrigerator for at least one hour. Chilling the dough is essential to prevent the cookies from spreading too much during baking!
Step 2: Cutting and Baking Your Dino Cookies to Perfection
Now, it’s time to roll out the dough and bake your dino cookies. Preheat your oven to 350°F (175°C). Lightly flour a clean surface and roll out one portion of the chilled dough to about ¼ inch thickness. Use your favorite dinosaur cookie cutters to cut out the cookies, and place them on a baking sheet lined with parchment paper. Leave enough space between the cookies to prevent them from sticking together. Bake for 8-10 minutes, or until the edges are lightly golden and the center looks set. Carefully remove them from the oven, and let them cool on the baking sheet for a few minutes before transferring them to a wire rack to cool completely.
Step 3: Decorating Your Dino Cookies with Royal Icing
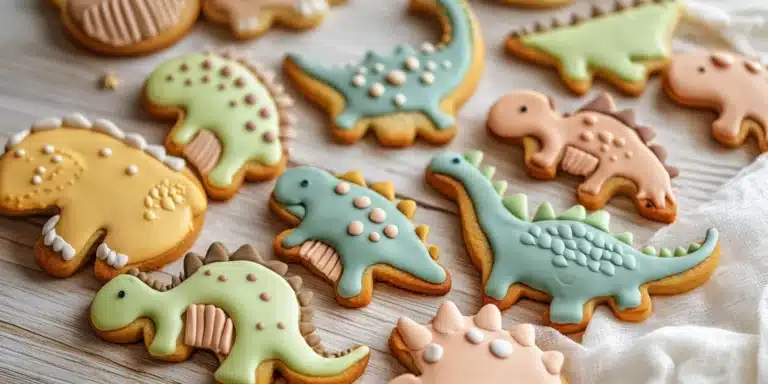
Once your cookies are completely cooled, it’s time for the really fun part: decorating! Prepare your royal icing by combining the powdered sugar, meringue powder, and water in a mixing bowl. Use a hand mixer or a stand mixer to beat the ingredients until they form a stiff, glossy icing. Add your food coloring to create a variety of colours, and then put the icing into piping bags fitted with your favorite tips. You can start by outlining each cookie and then fill in the design, and create other unique additions that suit your preferences! Have fun with this, and let your creative side shine! Finally, let the icing dry completely before storing or serving them.
Troubleshooting: Common Problems and Solutions
Even with simple recipes, you might run into a few common issues. Don’t worry, I’ve got you covered. Here are some common problems you might encounter when making dino cookies and how to fix them:
Problem 1: Cookies Spreading Too Much During Baking
If your cookies are spreading too much while baking, the most likely cause is that your dough was not chilled for long enough. Make sure to always chill your dough for at least one hour, or even longer. Another issue might be that your oven temperature is too high. Use an oven thermometer to make sure it is correct, and also make sure that the butter you are using is not too warm when you mix all of your ingredients together. Also, you may have added too much liquid, or have overworked the dough.
Problem 2: Icing is Too Thin or Too Thick? Achieving the Right Consistency
If your icing is too thin, add a bit more powdered sugar, one tablespoon at a time, until it reaches your desired consistency. If the icing is too thick, add a little bit of water, a teaspoon at a time, until you reach the desired consistency. Always add a little bit at a time, as it is easier to add more, than to remove it, and you will have better control over the outcome. Also remember that the consistency of your icing will depend on the desired decorating effect you want to achieve.
Problem 3: Decorations Not Adhering Properly to Your Icing
If your decorations aren’t sticking to the icing, the most likely reason is that the icing has already dried too much. You should add sprinkles and other decorations while the icing is still wet. This will ensure that the toppings adhere properly. You can also try pressing them gently into the icing, to help them stick better. If the icing has dried, you will need to apply a fresh coat of icing over the top of your design, and then add your decorations.
Customization Options: Personalizing Your Dino Cookies
Now that you have mastered the basic dino cookies, let’s explore some fun customization options to create unique and special treats! The possibilities are truly endless when it comes to creating amazing and unique cookies!
Adding Different Flavors to Your Sugar Cookies
Feel free to add different extracts or flavorings to your sugar cookie dough. Try:
- Lemon or orange zest for a citrusy kick.
- Almond extract for a nutty flavour.
- A pinch of cinnamon or nutmeg for a warm and cozy touch.
Creating Unique Icing Designs and Color Schemes
You can also experiment with different icing designs and colors. Try:
- Using a variety of different colors to create a rainbow effect.
- Creating a tie-dye effect by blending different colours together.
- Adding some decorative elements, such as flowers, bows, or polka dots.
Using Edible Glitter and Other Sprinkles
Finally, consider adding edible glitter and sprinkles to add that extra sparkle to your cookies, and make them a real treat:
- Edible glitter will add some sparkle and shine, and is a great way to enhance your design.
- Try different shapes and colours of sprinkles for a more personalized look, and to add texture.
- Use sanding sugar to add a touch of sparkle and texture.
Serving Suggestions: How to Present Your Dino Cookies
Now that your dino cookies are baked and decorated to perfection, it’s time to think about how best to present them and enjoy them to the fullest. Here are some serving suggestions to make your cookies even more appealing:
Displaying Your Dino Cookies at Your Party
Presentation is key when it comes to showing off your beautiful cookies. Here are a few ideas:
- On a Platter: Arrange your cookies on a decorative platter, creating a lovely centerpiece for the dessert table.
- In Individual Gift Bags: Package them in individual bags as a party favor for your guests. Use clear cellophane bags, and tie them with a colourful ribbon.
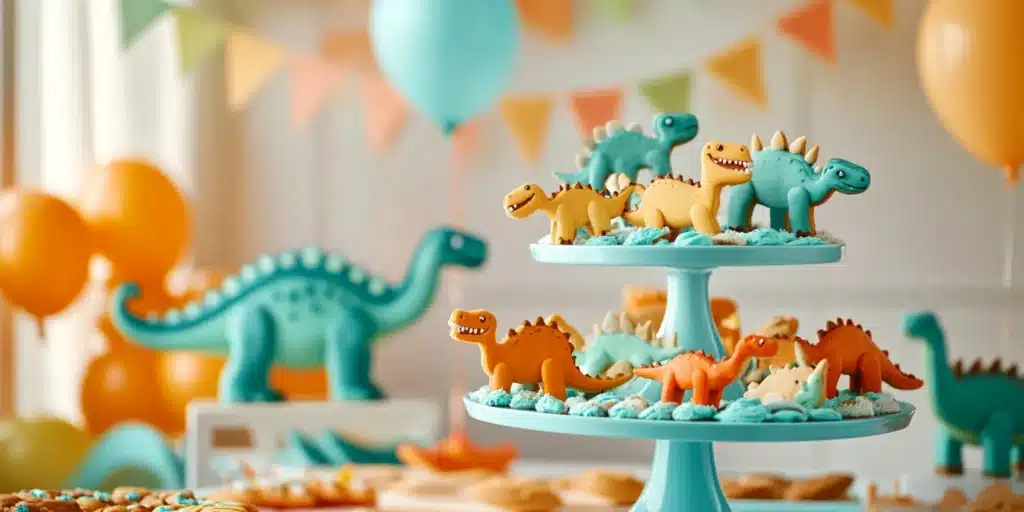
- Tiered Stand: Use a tiered stand to display the cookies, adding a touch of elegance to your presentation.
- In a Basket: Place the cookies in a cute basket for a more relaxed and casual display, especially if the party is a bit more rustic and down to earth.
- As Part of a Dessert Bar: Incorporate them into a larger dessert bar display, with other treats, such as candies, and other baked goods.
These are just a few ideas to get your creative juices flowing, feel free to create the perfect display, that suits your needs! To compliment your dino cookies, consider serving them alongside a refreshing Blueberry Pineapple Smoothie for a burst of fruity flavor, or perhaps a bowl of crunchy Vanilla Nut Granola for a delightful textural contrast. For a health-conscious touch, offer a Pineapple Ginger Turmeric Shot to invigorate your guests, or provide a kid-friendly breakfast option with a tempting French Toast Bagel. And for guests with dietary restrictions, don’t forget to include some of our delicious Gluten-Free, Dairy-Free Vegetarian Recipes, ensuring there’s something for everyone to enjoy.
Teddy Bear Cookies FAQs: Your Quick Questions Answered
Even with all the detailed instructions, you may still have a few questions about making these teddy bear cookies. Here are some frequently asked questions, with answers that will help you create the perfect cookies:
Can I Make the Dough Ahead of Time?
Yes, you can make the sugar cookie dough ahead of time. Simply wrap it tightly in plastic wrap, and store it in the refrigerator for up to 3-4 days. Let it come to room temperature for a few minutes before rolling it out, as it might be too hard to work with right out of the fridge. This will help you to manage your time, and to do most of the work before the actual baking day.
How Long Do These Cookies Last?
These decorated dino cookies will last up to 5-7 days in an airtight container at room temperature. If you do not plan to use them right away, it is best to keep them sealed to avoid them getting stale, but it is best to consume them as fresh as possible. They will still taste delicious after a few days, but the texture may change over time.
What’s the Best Way to Store Decorated Cookies?
The best way to store decorated cookies is in an airtight container at room temperature. It’s also important to let the icing set and dry completely before placing the cookies in a container, as this will help to avoid smudging or damaging the decorations. You can also place parchment paper between layers of cookies for extra protection, and to ensure that the icing does not stick to each other, and ruin all of your designs.
Conclusion: The Sweet and Adorable Charm of Dino Cookies
And there you have it – your complete guide to making the most adorable, delicious, and customizable dino cookies! This recipe proves that you can create something both fun and tasty in your own kitchen, with just a few simple ingredients and techniques. From the buttery sugar cookie base to the creative icing designs, these cookies are sure to bring joy to any celebration and make the day extra special! For more ideas on how to create amazing icing designs, you can explore this useful guide on Sugar Geek Show. Also, if you’re looking for some inspiration for unique party themes, take a look at these fun and unique party ideas on Martha Stewart. So go ahead, gather your supplies, and create your very own batch of these charming dino cookies for a birthday party, a celebration, or any other event. Happy baking!

